How to Reduce Image Size Under 100KB Without Losing Sharpness
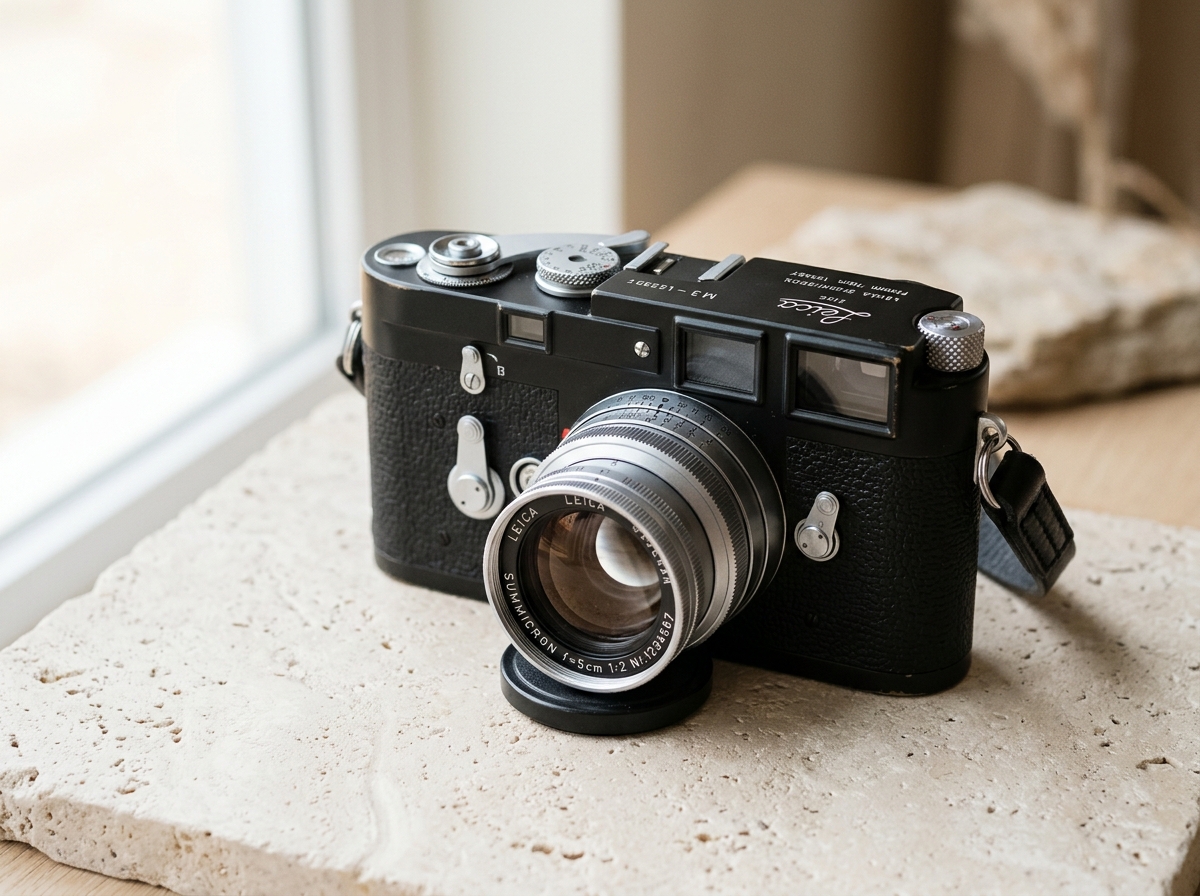
Many online portals—from university admissions and passport uploads to job forms—enforce strict 100KB or 200KB limits. Instead of dragging quality sliders blindly until details smudge, test the interactive 100KB compressor directly below on your own photo or on this camera sample.
LIVE BROWSER VERIFICATION · NO FABRICATED METRICS
Real compression numbers computed on this cover photo
Your browser decoded and re-encoded the cover photograph above in real time. Click Compare to inspect 1:1 sharpness or download any variant.
INTERACTIVE WORKBENCH · TEST DIRECTLY IN ARTICLE
Try it right here on your own image or this article’s cover photo
Drop your own photo or load the cover photograph below, tune target KB, format, or dimensions, compare before/after sharpness, and download locally.
Drop your images here
JPG, PNG, WebP · Up to 20 files at once · Or paste with Ctrl+V
1. Switch lossless PNG screenshots to JPG or WebP
Trying to push a high-resolution PNG screenshot below 100KB while keeping it in PNG format rarely works well because PNG uses lossless compression—reducing file weight means drastically shrinking pixel width.
Converting a photographic or UI screenshot to JPG or WebP unlocks perceptual compression, keeping text and edges legible inside a 100KB ceiling.
2. Trim excessive pixel dimensions first
Modern smartphones capture 4000×3000px images (12 megapixels), yet most portal upload fields render photos far smaller. Scaling width to 1200px or 1600px removes most unnecessary pixel data before encoding begins.
With fewer redundant pixels, the encoder can settle at a clean 70%–82% quality setting inside the 100KB target instead of resorting to blocky 10% artifacts.
3. Strip invisible EXIF headers automatically
Camera JPEGs frequently carry embedded EXIF metadata, color profiles, and camera thumbnails. Re-encoding locally in your browser Canvas discards those hidden kilobytes while protecting location privacy.
Continue in the full workspace
Zero uploads for local tools, or switch seamlessly to Screenshot Studio and Cloud.